Browse patented products and resources for loosening tight neck and back areas through posture support, mobility work, and spinal wellness tools.
Curated by Eileen Durfee, NBS, NASM-CPT, Inventor, Author, and Nationally Certified Spinal Fitness Specialist, Creatrix Solutions has shipped 11,000+ orders and focuses on practical wellness innovation.
Neck and back comfort support
Mobility-focused options
Practical posture support tools
Back & Neck Pain Relief
How to Loosen Tight Lower Back, Upper Back & Neck Muscles Through Spinal Fitness
Learn why tight muscles often return after stretching or massage, how flattened spinal curves create compensation and posterior shear, and how Spinal Fitness restores the structure that allows muscles, fascia, ligaments, and joints to relax.
Lower, mid & upper back painNeck tension & tech neckFoam rollers & Neck Shaper system
These strategies are based on the spinal biomechanics research of Dr. John S. Scherger and the Spinal Fitness framework for restoring the adult S-shaped spine.
Why tight muscles stay tight
Muscles Often Tighten Because They Are Buying Stability
When the cervical or lumbar curves flatten, the head and trunk shift away from their most efficient centers of support. The body must keep you upright somehow, so posterior muscles create constant tension to prevent further collapse.
The upper trapezius, neck extensors, erector spinae, multifidus, quadratus lumborum, hip flexors, and hamstrings may remain active long after the movement is over. This can feel like stiffness, burning fatigue, knots, or a back that never fully relaxes.
Stretching may temporarily lengthen a tight muscle, but if the underlying posture does not change, the nervous system often tightens the muscle again because it still needs the stability.
The structure beneath the tension
Spinal Curves Help the Skeleton Share Load
The adult S-shaped spine keeps the head, rib cage, and pelvis arranged so compressive forces can travel through the structure more efficiently. When the curves are present, bones and joints share more of the load.
When the curves flatten, forces shift across the spinal segments instead of traveling through them. This increases posterior shear and requires muscles, ligaments, and fascia to work harder to hold the body together.
The goal of Spinal Fitness is not simply to relax a muscle. It is to restore the position that allows the muscle to stop guarding.
A well-shaped spine can use compressive force to improve stability. A flattened or collapsed spine is more likely to experience shear, where one segment is encouraged to slide relative to another.
Shear increases the stabilizing demand on the deep muscles and connective tissues. The body responds with guarding, reduced movement, and chronic tension. Over time, that protective strategy can become the person’s normal posture.
This is why the same area may feel tight even after repeated massage. The tissue is responding to the mechanics around it.
Fascia
Fascia links the neck, trunk, pelvis, and limbs. Repeated posture can stiffen these connective pathways and reinforce compensation patterns.
Tendons & Ligaments
Tendons transfer muscle force to bone, while ligaments guide and limit joint motion. Poor alignment changes the direction and amount of load they carry.
Deep Stabilizers
Multifidus, interspinales, and other small stabilizers may become inhibited or overworked when larger muscles take over posture control.
Global and segmental posture
Looking Upright Is Not the Same as Having Healthy Spinal Curves
Global posture describes where the head and trunk sit over the pelvis. Segmental posture describes how individual vertebrae relate to one another.
A person may appear upright while still having a flattened cervical curve, a reduced lumbar curve, restricted thoracic movement, or poor control at specific spinal segments.
Spinal Fitness combines global posture training with segmental tools that support the neck, low back, thoracic spine, and pelvis.
Neck & low back foam rollers
Support the Curves So Muscles and Ligaments Can Let Go
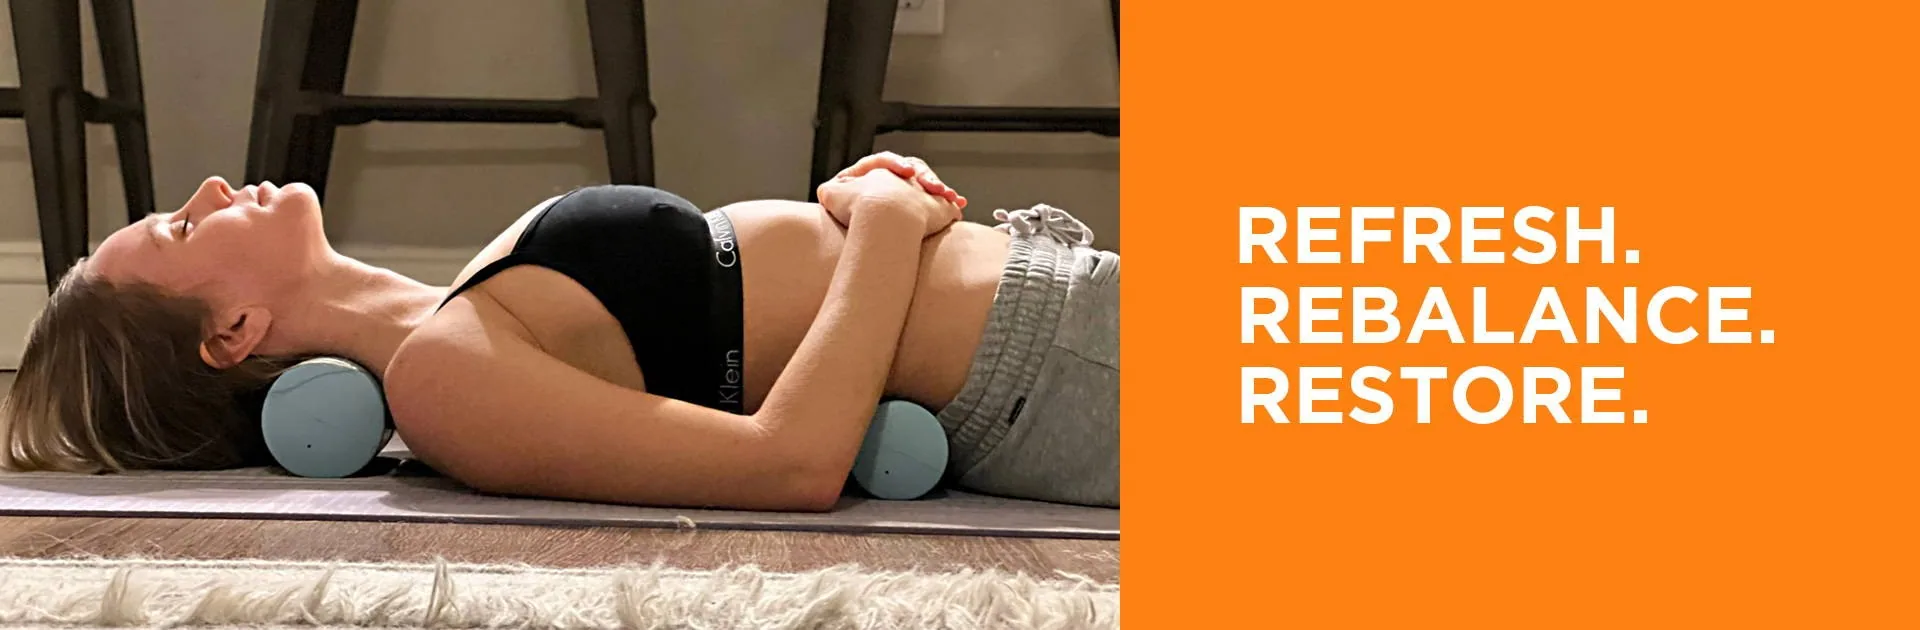
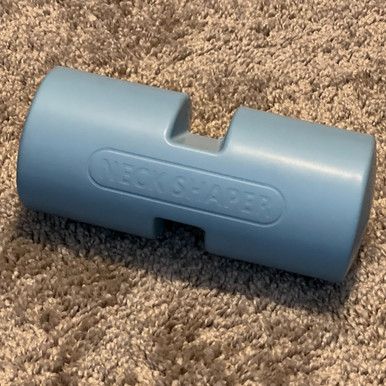
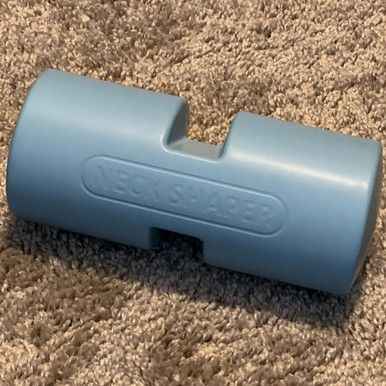
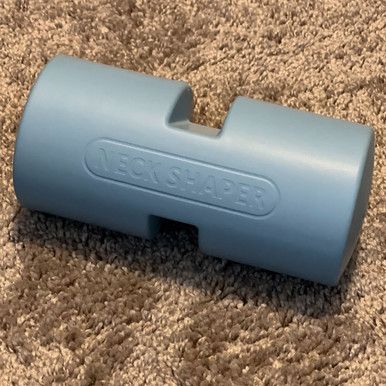
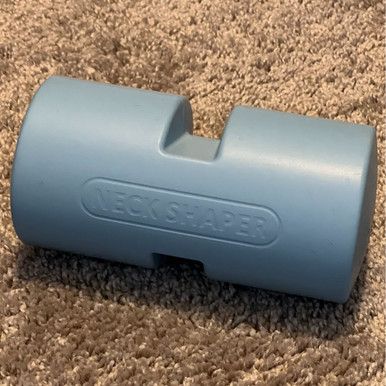
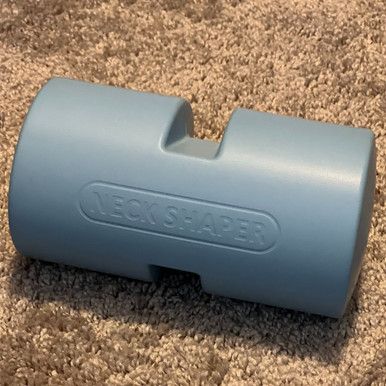
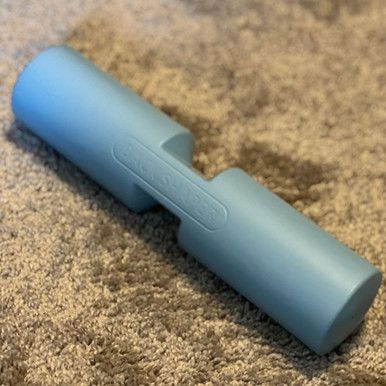
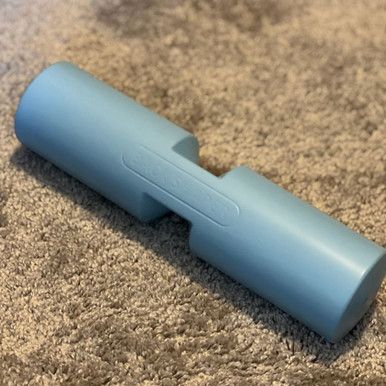
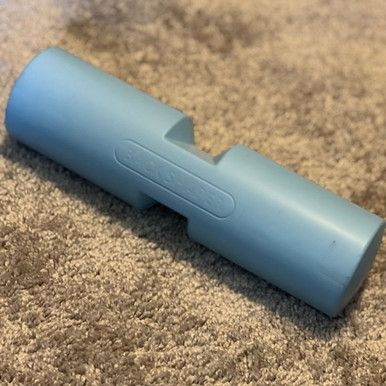
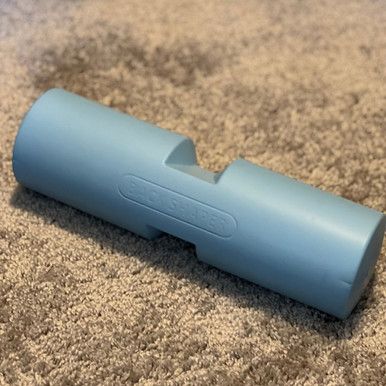
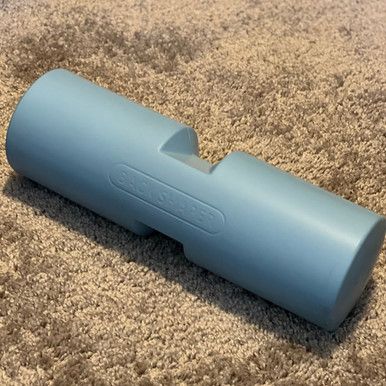
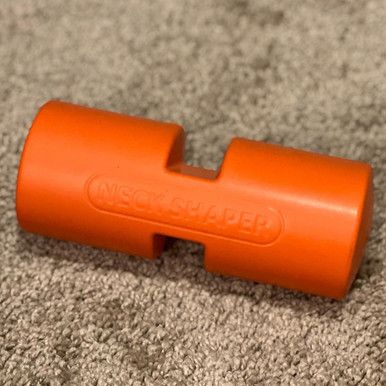
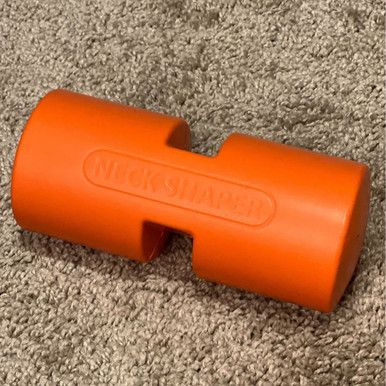
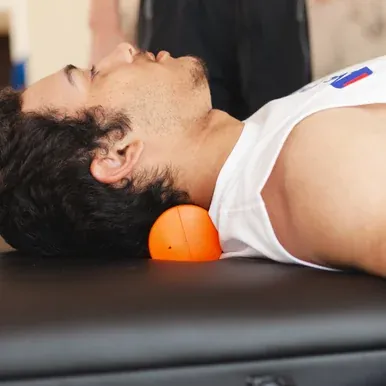
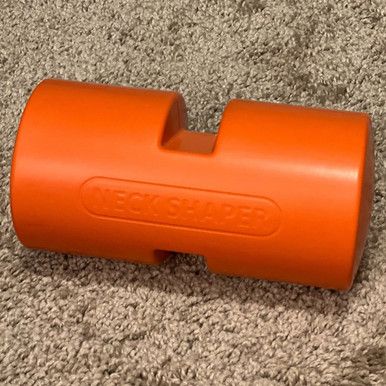
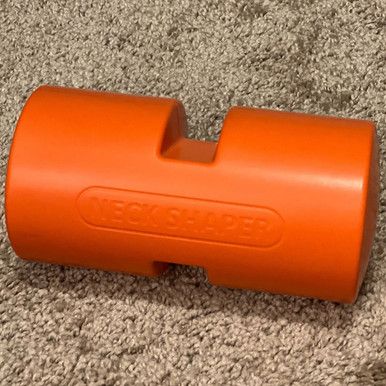
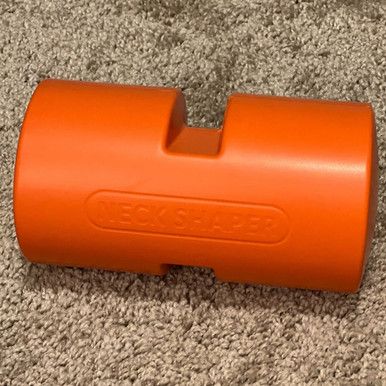
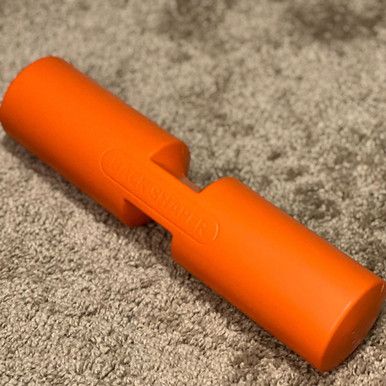
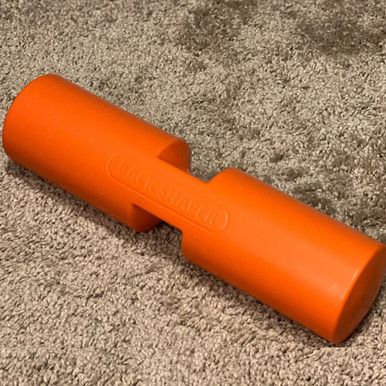
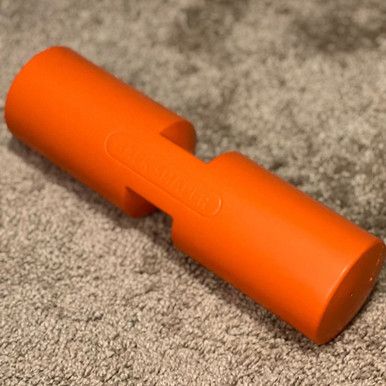
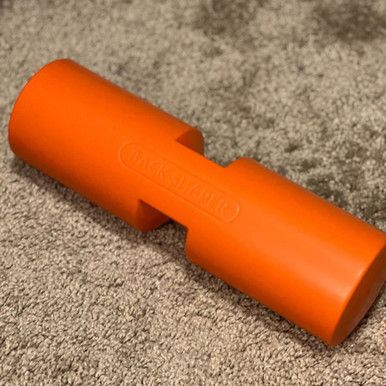
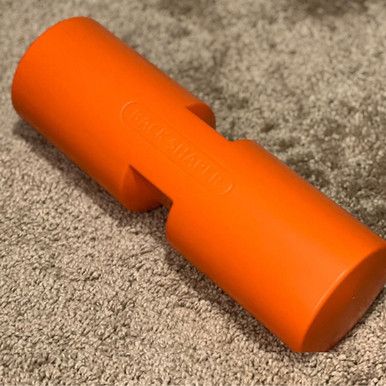
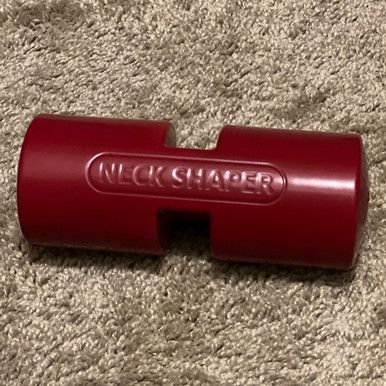
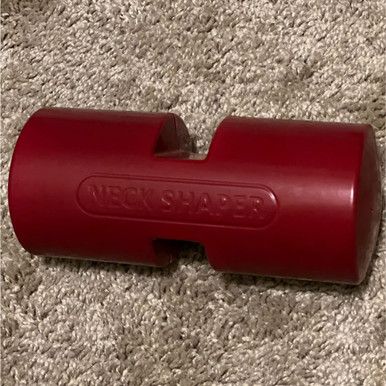
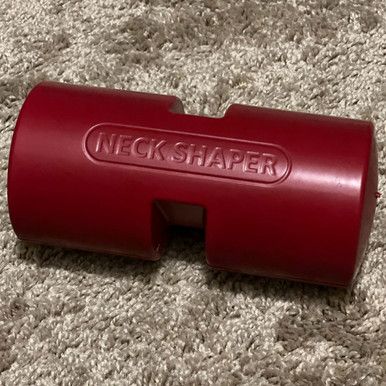
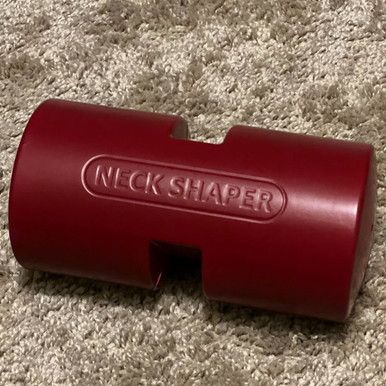
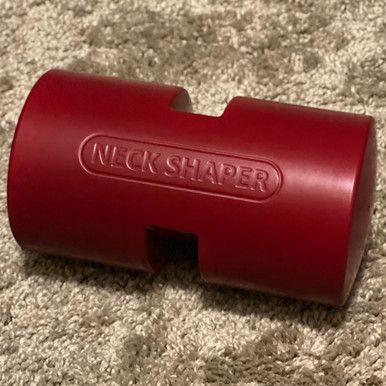
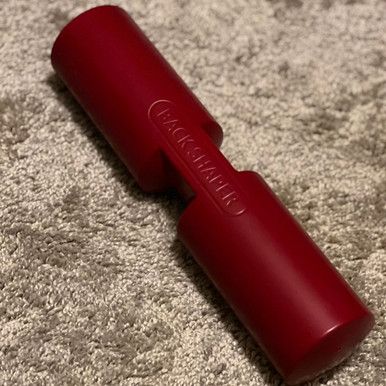
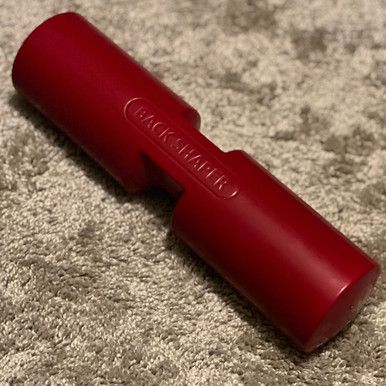
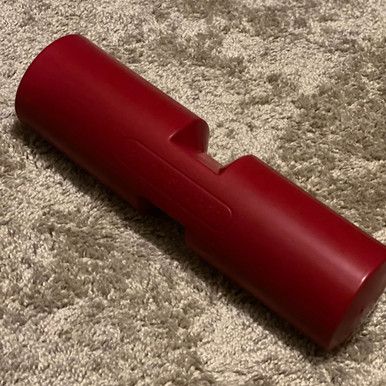
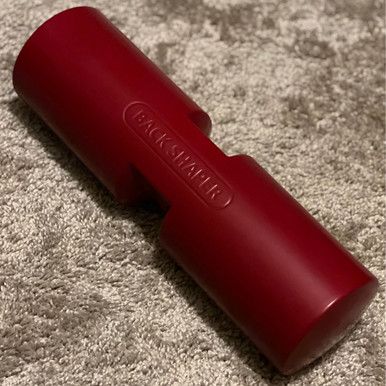
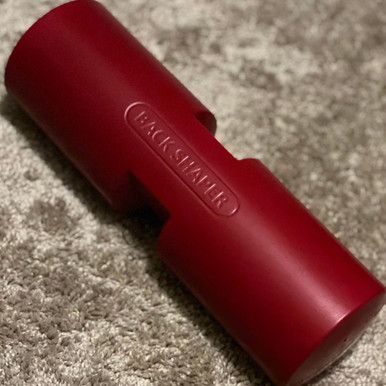
Creatrix Neck Shaper and Back Shaper rollers are designed to support the cervical and lumbar curves while the body relaxes. Their patented groove gives the spinous processes room to float while the raised sides support the transverse-process region and surrounding soft tissues.
The self-skinning foam compresses around the body instead of feeling like a rigid pipe. This controlled give helps distribute pressure through the muscles, fascia, and connective tissues beside the spine while protecting the bony centerline.
Use the correct diameter and density for 15–20 minutes after the Back-Twist exercise. Soft blue is the most forgiving entry point, orange medium provides firmer feedback, and maroon firm is reserved for advanced users who have already adapted to softer densities.
The goal is not to force the spine. The goal is to create a supported position where protective tension can decrease and the body can become familiar with healthier curves.
Use the Correct Size, Density & Sequence for Passive Spinal Support
The Neck Shaper and Back Shaper are passive posture-support tools. They are designed to support the cervical and lumbar curves while the body relaxes, rather than forcing the spine into position.
For best results, perform the gentle Back-Twist exercise first, then lie over the properly sized Neck Shaper and Back Shaper rolls for approximately 15–20 minutes. The Back-Twist prepares the joints, muscles, fascia, and connective tissues for the supported position.
The patented center groove gives the spinous processes room to float while the raised self-skinning foam shoulders support the transverse-process region and surrounding tissues.
How to Position the Neck Shaper
Lie on your back on a firm but comfortable surface such as a carpeted floor, exercise mat, firm bed, or treatment table.
Place the seven-inch Neck Shaper beneath the natural cervical curve—not directly under the back of the skull and not under the shoulders.
Center the groove beneath the bony midline of the neck so the spinous processes can float.
Allow the raised sides of the roll to support the tissues beside the cervical spine.
Keep the face level and the jaw relaxed. The chin should not be forced sharply toward the chest or tipped excessively upward.
Let the shoulders rest heavily and breathe slowly through the rib cage.
Remain in the supported position for 15–20 minutes, or begin with 3–5 minutes if you are new or sensitive.
The Back-Twist gently rotates the spine and encourages movement through the discs, facet joints, rib attachments, fascia, and surrounding muscles. Following the twist with passive support allows the body to settle into a more organized cervical and lumbar position.
Perform the Back-Twist slowly and without forcing the range.
Position the Neck Shaper and Back Shaper rolls.
Lie back gradually rather than dropping onto the rolls.
Allow the abdominal wall, jaw, shoulders, hip flexors, and hamstrings to relax.
Breathe slowly and avoid holding the breath.
After 15–20 minutes, roll to one side and come up gradually.
How to choose density
Start Soft and Progress Only When the Body Is Ready
Light blue soft density is the usual starting point for beginners, pain, injury recovery, sensitive tissues, and anyone who tightens or guards easily.
Orange medium density provides firmer support and stronger positional feedback. It is appropriate when soft density is comfortable but no longer provides enough support.
Maroon firm density is for advanced users who have already adapted to soft and medium. Firm is not automatically better. The correct roll is the least aggressive size and density that supports the curve without pain, guarding, numbness, or radiating symptoms.
Breathing and relaxation cues
Let the Roller Support the Curve—Do Not Brace Against It
Relax the Jaw & Shoulders
Jaw tension and elevated shoulders often accompany neck guarding. Let the tongue, jaw, and shoulder girdle soften.
Breathe Into the Rib Cage
Use slow breathing that expands the sides and back of the ribs instead of rigidly bracing the abdomen and low back.
Allow Gradual Adaptation
The body may need several sessions to stop guarding. Do not force a larger diameter or firmer density before the tissues are ready.
Common setup mistakes
Avoid These Problems When Using the Shaper Rolls
Roll Positioned Too High or Too Low
The Neck Shaper belongs under the cervical curve, and the Back Shaper belongs under the lumbar curve—not under the skull, shoulders, ribs, sacrum, or tailbone.
Diameter Is Too Large
If the chin is forced toward the chest, the ribs flare, or the body cannot relax, move to a smaller diameter.
Density Is Too Firm
If the muscles brace, pain increases, or numbness and radiating symptoms appear, stop and use a softer roll or seek professional guidance.
How the rolls fit into Spinal Fitness
Passive Support Prepares the Body for Active Posture Training
The Neck Shaper and Back Shaper rolls help the body experience better spinal curves without active effort. This passive phase can reduce protective tension and improve body awareness.
After the body becomes familiar with the supported position, active exercises such as Neck Flexion, pelvic tilts, supported sit-ups, Back Trac work, and resistance training teach the muscles to maintain the improved posture during movement.
Passive support and active strengthening are complementary. One creates the position; the other teaches the body to keep it.
The Neck Shaper
Strengthen Neck Flexion to Bring the Head Back Over the Pelvis
Forward-head posture increases the lever arm of the head and forces the posterior neck muscles to work continuously. The Neck Shaper applies evenly distributed resistance for controlled Neck Flexion.
Neck Flexion trains the anterior cervical muscles that help return the head toward a more balanced position over the trunk. This reduces the demand on chronically tight neck extensors and upper trapezius muscles.
The movement should be small, controlled, and performed from a supported cervical curve. Most users benefit from a properly sized medium Neck Shaper when lying on a bench, then use the Neck Shaper Kit for resistance.
Short sets performed consistently are more useful than aggressive repetitions that cause strain or flatten the neck.
Improve Segmental Mobility Without Pressing on the Bony Centerline
Back Trac is a six-inch grooved spinal fitness roller designed for thoracic and full-back mobility. The central groove allows the spinous processes to float while the raised self-skinning foam shoulders contact the transverse-process region.
As you roll, the trunk moves over a supported fulcrum. This can improve segmental motion, reduce guarding, and help fascia and muscle layers move more freely relative to one another.
Comfortable joint sounds may occur, but the goal is not to force a pop. The goal is improved movement, reduced tension, and better preparation for the Back-Twist and passive Shaper-roll sequence.
Back Trac can also support the pelvis during dead bugs, toe taps, leg raises, and frog pumps so the lumbar curve is preserved instead of pressed flat into the floor.
Use the Power Cushion as a fulcrum so the lumbar curve remains supported while the abdominal wall works, reducing posterior shear compared with unsupported sit-ups.
Step 2: Back Trac Rolling
Roll the thoracic and full back to improve segmental mobility, stretch spinal joints, and prepare the tissues for correction.
Step 3: Pelvic Tilt
Use the Power Cushion to train the rectus abdominis, multifidus, and pelvic control while guiding the low back toward a better curve.
Step 4: Neck Flexion
Use the Neck Shaper Kit to strengthen the anterior cervical muscles and bring the head back over the pelvis.
Step 5: Back Twist + Shaper Rolls
Perform the Back-Twist, then relax over properly sized Neck and Back Shaper rollers so muscles can release and the spine can settle into supported curves.
Progression Principle
Begin with the softest density and smallest useful diameter. Increase firmness or size only when the current setup is comfortable and no longer provides enough support.
Posture screening
Look for the Mechanical Cause of Tightness
Neck Position
Observe whether the head sits over the trunk or drifts forward. Forward-head posture increases the muscular effort required to hold the head upright.
Head Turn
Healthy head turning tends to begin with the eyes. Leading with the chin may reflect restricted cervical control.
Arm Raise
Watch whether the head, ribs, and low back remain organized as the arms lift overhead.
Breathing
Look for rib expansion and a relaxed lumbar concavity instead of rigid back-muscle bracing.
Hamstring Reach
Measure fingertip distance before and after the sequence. Rapid change may show that the hamstrings were acting as postural brakes.
Jump or Step Control
Forward landing or drifting may reflect a forward-shifted center of mass and poor trunk organization.
Featured videos
See the tools in action.
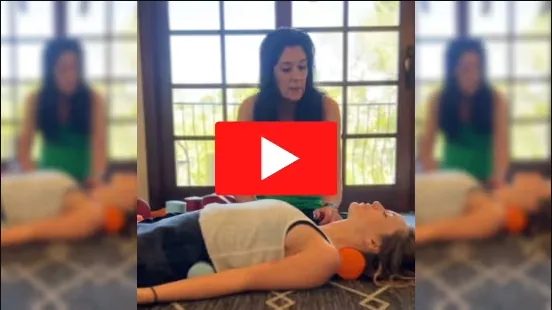
These demos walk through sizing your foam rollers, using the Neck Shaper, and rolling away back pain with the Back Trac. Use them alongside the written instructions for best results.
Foam Roller Sizing Kit
Learn how to choose the right diameter and density for your neck and back foam rollers, and why many people benefit from owning two sizes.
See how the Neck Shaper is positioned on the face, how to apply force safely, and how to perform the Neck Flexion exercise for better cervical posture.
The late Dr. John S. Scherger used mathematics and biomechanics to explain why spinal curvature influences strength, endurance, and joint health.
When the head, rib cage, and pelvis stack efficiently, centers of mass remain closer to the support base and unnecessary lever arms are shorter. The muscles do not have to spend as much energy fighting gravity.
When the spine flattens, the head and trunk move farther from their support. Muscles must generate more effort to hold the body upright, and posterior shear increases across spinal segments.
This is the central Spinal Fitness principle: restore the structure first, then the strength generated by the muscles can be used for movement instead of constant compensation.
Why pain relief can require more than stretching
Change the Mechanical Pattern That Keeps Recreating the Tension
Massage, stretching, heat, and mobility work may reduce symptoms temporarily. They become more effective when paired with correction of the posture and movement pattern that keeps loading the same tissues.
The Neck Shaper, Back Shaper, Back Trac, and Power Cushion each address a different part of the correction process: cervical strength, passive curve support, segmental mobility, pelvic control, and supported abdominal training.
Used together and progressed gradually, these tools create a home-based system for loosening tight muscles while also teaching the body how to maintain a healthier S-shaped spine.
Frequently asked questions
Back & Neck Tightness FAQ
Why do tight muscles return after stretching?
The nervous system may tighten them again if they are still needed to stabilize a flattened or forward-shifted posture.
Can fascia contribute to chronic tightness?
Yes. Fascia adapts to repeated posture and can reinforce stiffness and compensation across the neck, trunk, pelvis, and limbs.
Why does forward-head posture hurt?
It lengthens the lever arm of the head and increases the work required from the posterior neck and upper-back muscles.
Why use grooved rollers?
The groove creates clearance for the spinous processes while the raised sides support the structures beside the spine.
Should I start with firm rollers?
No. Most new, injured, or sensitive users should begin with soft or medium density and progress gradually.
Can Back Trac replace unsupported abdominal exercises?
It can provide posterior support for dead bugs, toe taps, frog pumps, and leg raises when the low back otherwise flattens or becomes uncomfortable.